Everyone can benefit from learning to use a map and compass! Most people nowadays are used to using electronic devices to get from point A to point B. But what if they are not working, you are somewhere without any signal, or you do not have them? Can you make sense of even a GPS map of the forest, without any roads as clues? This is why experienced outdoor adventurers bring their maps and compasses.
Even experienced adventurers have found themselves lost in the wilderness, unsure of the way out. Our co-worker Darcy even got lost in the woods behind her house once. This can turn a simple hike into a dangerous situation. If you know how to use a map and compass, you can prevent this problem, and find the way out more easily.
A compass has a magnetic needle that can rotate freely. If you hold it flat and still, the needle moves to line up with magnetic field of the Earth, pointing north-south.
How was the compass invented?
The First compass was invented in China during the Han Dynasty between the 2nd century BC and 1st century AD. At first, it was used for fortune-telling and geomancy (finding precious gems)! In time, people discovered that it could be used for navigation and orientation. People knew about magnetite even before then, but it took centuries to discover a use for it.
Parts of a compass

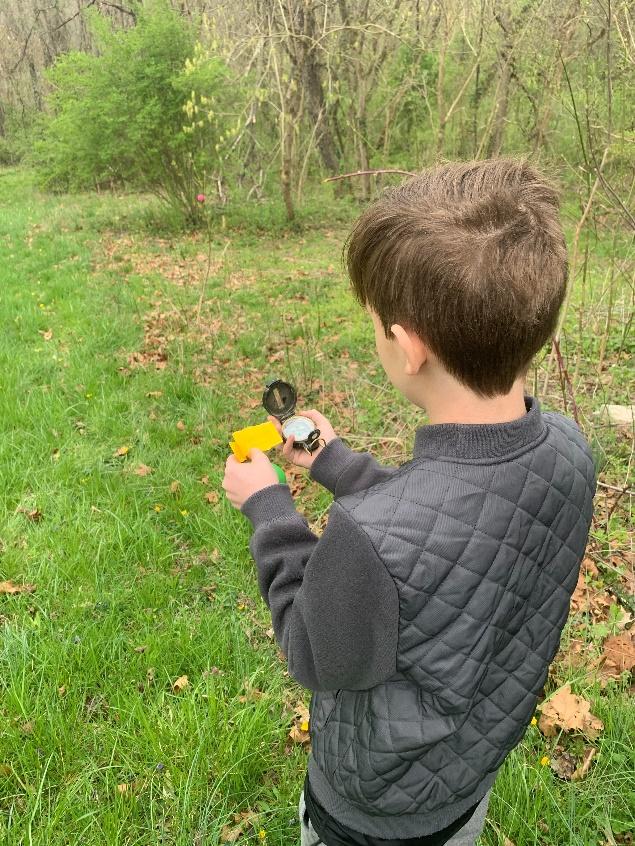
There are many types of compasses, from tiny thumb compasses to complex high-tech gadgets. For most outdoors adventures, an orienteering compass works great. That’s the kind in the picture above.
Start by holding your compass flat (or putting it on a flat table or rock).
Needle – a magnetized piece of metal. It sits on a fine point that is nearly frictionless, so it rotates freely when the compass is held fairly level and steady. One end is painted red to indicate North. You should turn your compass until the red part of the needle matches north on your compass as well.
Orienting Arrow – The red arrow drawn on the floor of the housing. You can turn the dial to change the direction of the arrow. The orienting arrow should line up with your needle AND north on your map.
Direction-of-Travel Arrow – When you place the compass on a map, point this arrow the way you want to travel.
Declination marks – Magnetic needles aren’t perfect–they show ‘magnetic north,’ which is several degrees different from the true direction of north. A good map will tell you how many degrees of declination you’ll have to adjust for. We won’t worry about this much today, but if you are actually depending on a compass for directions, you’ll need to learn more.
We’ll focus on a simplified treasure hunt to practice using a compass today. But if you really want to know how to use a compass well (including this whole “declination” idea), this video from REI is a good introduction.
Don’t have a compass to practice with? You can make a rough compass with sticks and rocks (instructions here).
Remembering North, East, South, West
If you start in the north, and go clockwise around a circle, the directions go in this order: north, east, south, west.
Here are some mnemonics people use to remember the right order, and not get mixed up:
- Never Eat Soggy Waffles
- Never Eat Sour Watermelon
- Never Enter Stinky Washrooms
Practice with your compass now! Holding the compass out in front of you. Turn it so that the red part of the needle lines up with the “N.” Point in each direction: Which way is north? east? south? west?
Try this outside. Choose a landmark you’d like to walk towards, like a mailbox, tree, or shed. Which direction do you have to walk towards?
Your turn: Create a compass treasure hunt!
Make a treasure hunt for yourself or your friends to follow. We did this for our easter egg hunt
, but you can hide anything–toys, special rocks, or just the notes with clues!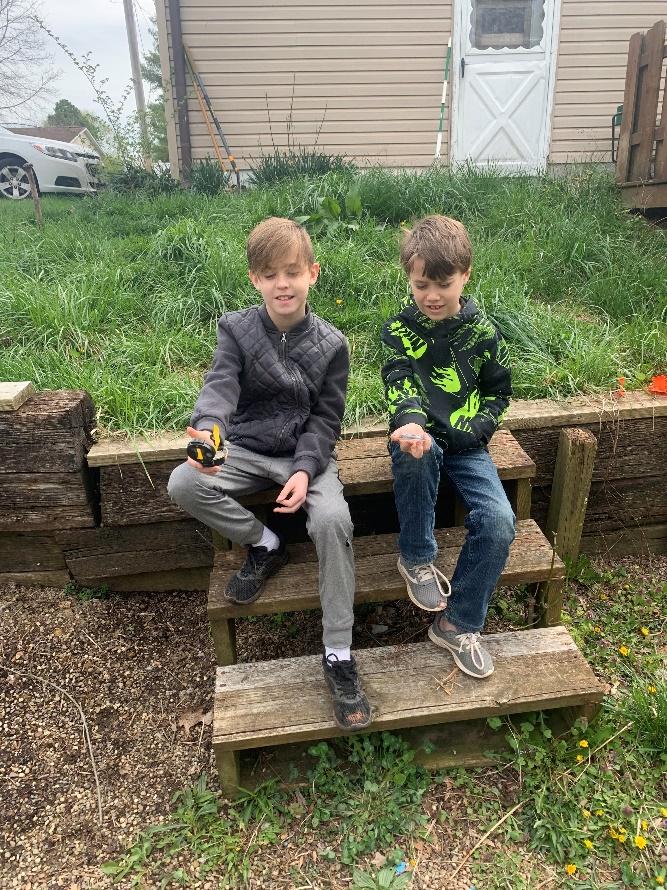
You’ll need:
- a compass (or make a stick and rock compass)
- slips of paper and pencil/pen
- a space for doing the hunt (a yard or other outdoor space works great)
First, choose a few hiding places you want to use! Also, choose a starting place.
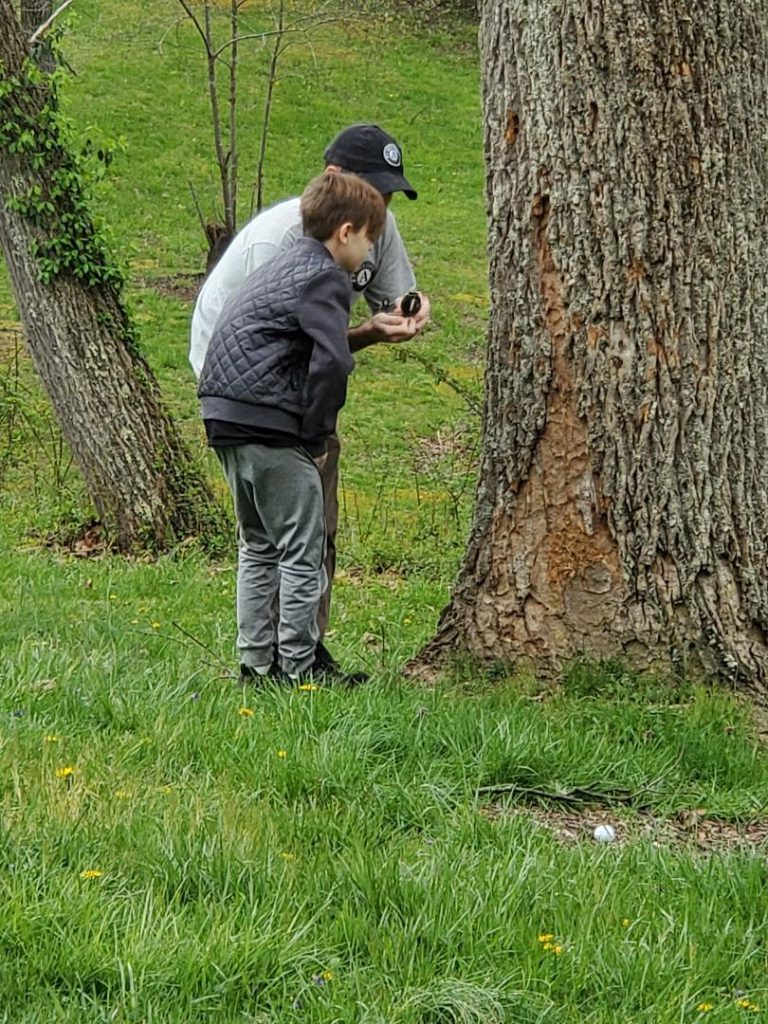
Second, stand in your starting place. Orient your compass so the needle and the red orienting arrow match up.
- Which direction is your first hiding place?
- Count how many steps it takes to walk to the hiding place
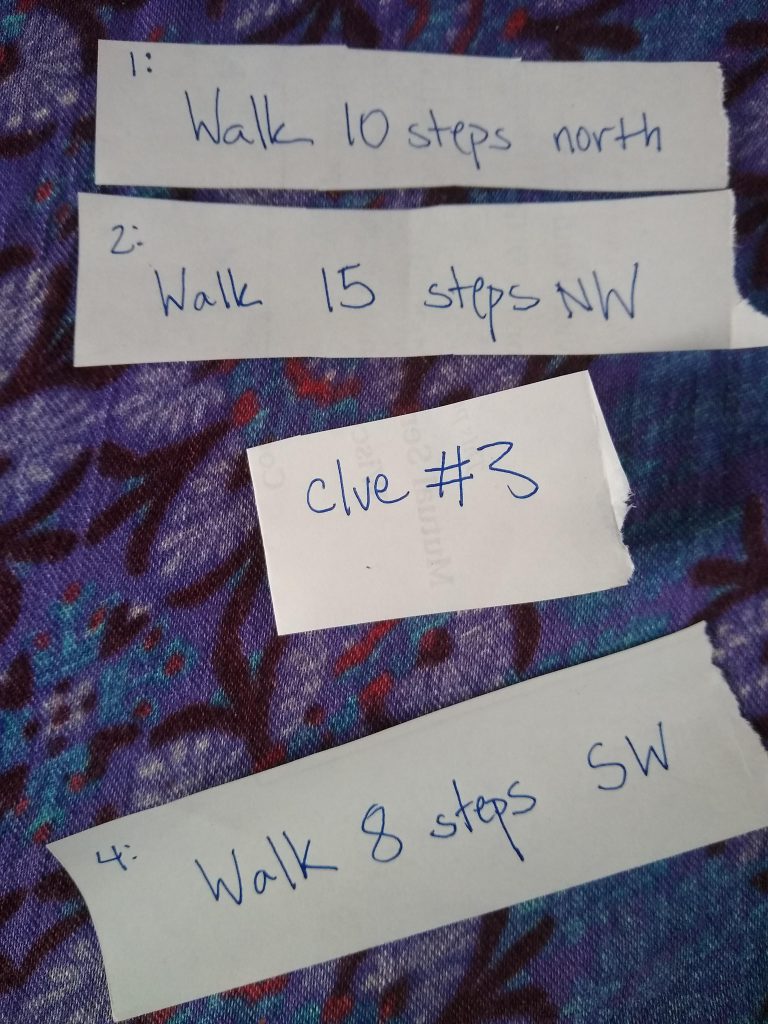
This will give your first clue, something like: “Go ten steps north.” Write down the clue on a piece of paper (and label it clue #1!). Leave the clue in the starting place!
Third , stand in the first hiding place, and do the same thing again. What direction is the next hiding place? How many steps does it take to get there?
Write down clue #2, and hide it in the first hiding place.
Repeat this process until you have reached the final treasure. Don’t mix up the order!

Other options: Your family might disagree on how long a step is!To make this more accurate (and a little more challenging), use precise degrees of the compass (“Walk 15 degrees”) and measure actual distances (“Walk 17 feet”).
Another variation to try: draw a map of your yard, and mark your compass clues on the map.
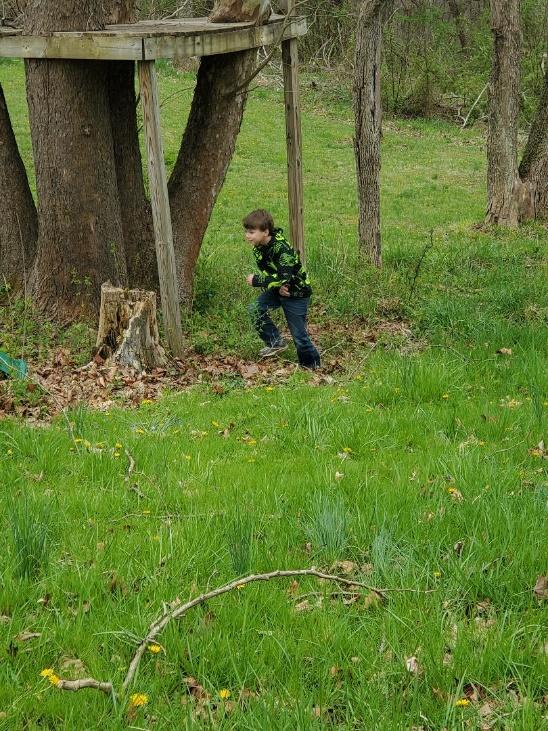
Finally, find a willing family member or friend to try out your hunt!
To sum up:
We covered a few ways to practice using a compass.
- Use a compass to identify north, east, south, and west in your yard or home.
- Make a compass treasure hunt.
- For more advanced practice, watch the REI video above and try using a compass with a real map.
Hands-on practice should make the experience of using a compass more memorable and help better retain the skills and knowledge required to use a compass effectively.