Last week we learned about pollinators such as insects and bats. This week is National Moth Week, so I thought we could celebrate by learning about these special insects!
Moths, like butterflies and other pollinators, enjoy eating nectar as a main food source. Most moths are nocturnal (they only are active at night). But a few moth species do come out during the day.
Because of nocturnal moths, some flowers have evolved to open up their blooms at night. They can be pollinated even when it gets dark.
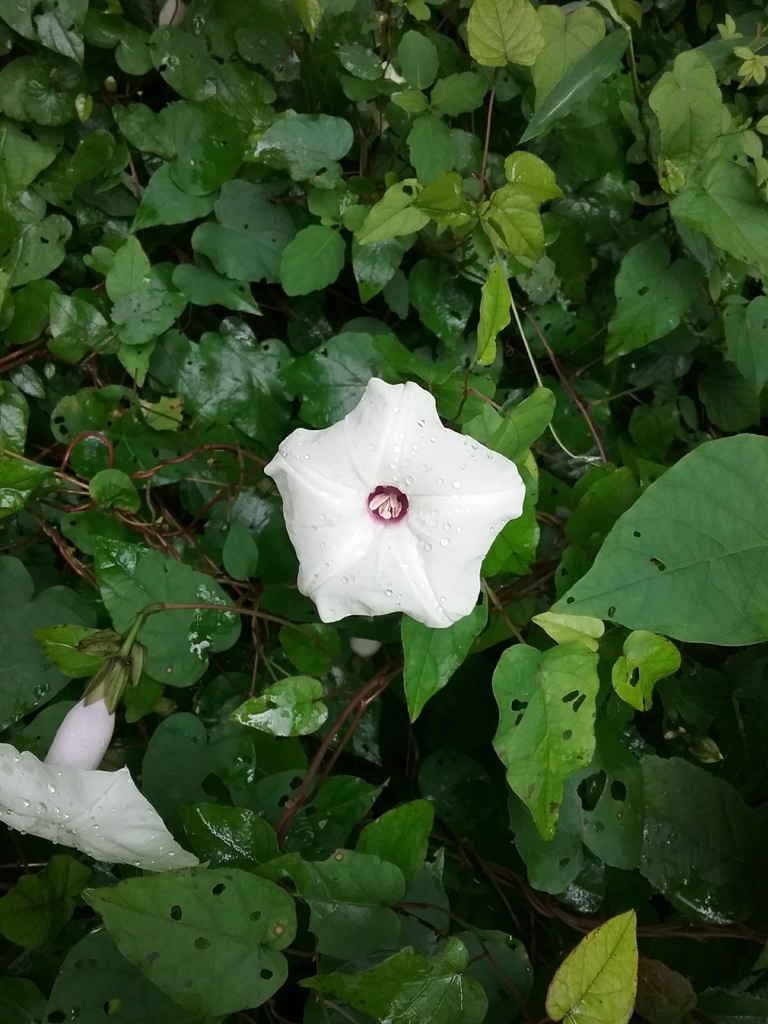
Wild Potato Vine. Photo: egnercra on iNat 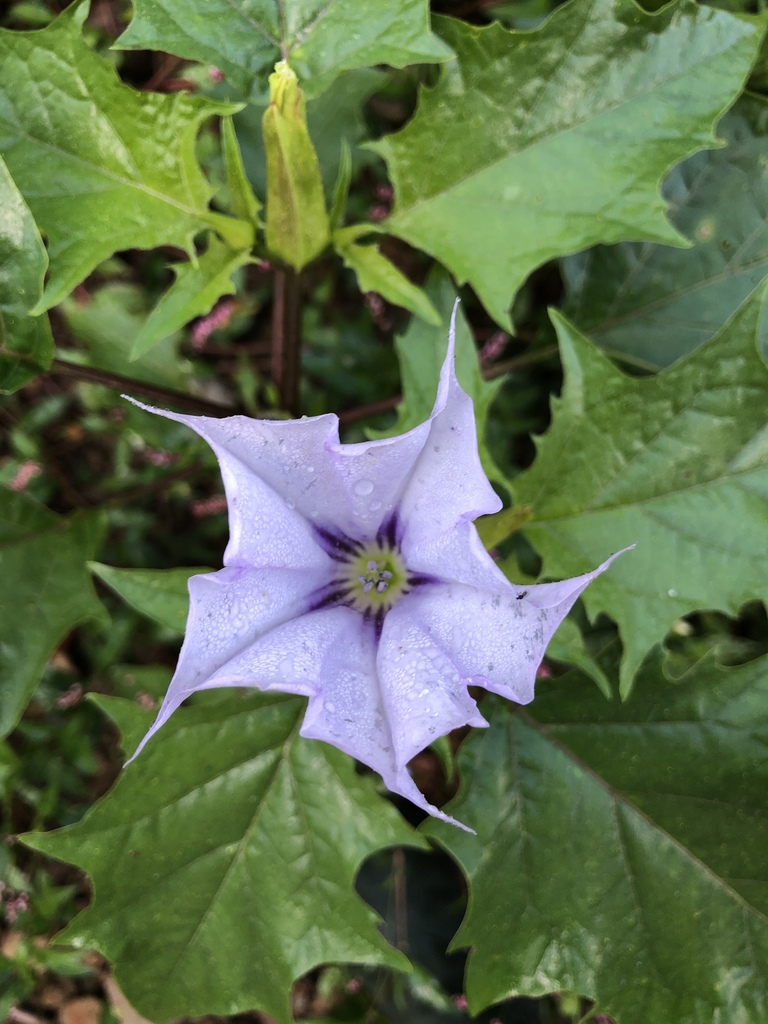
Jimsonweed. Photo: jwessel on iNat
Let’s take a look at two Ohio moth species below!
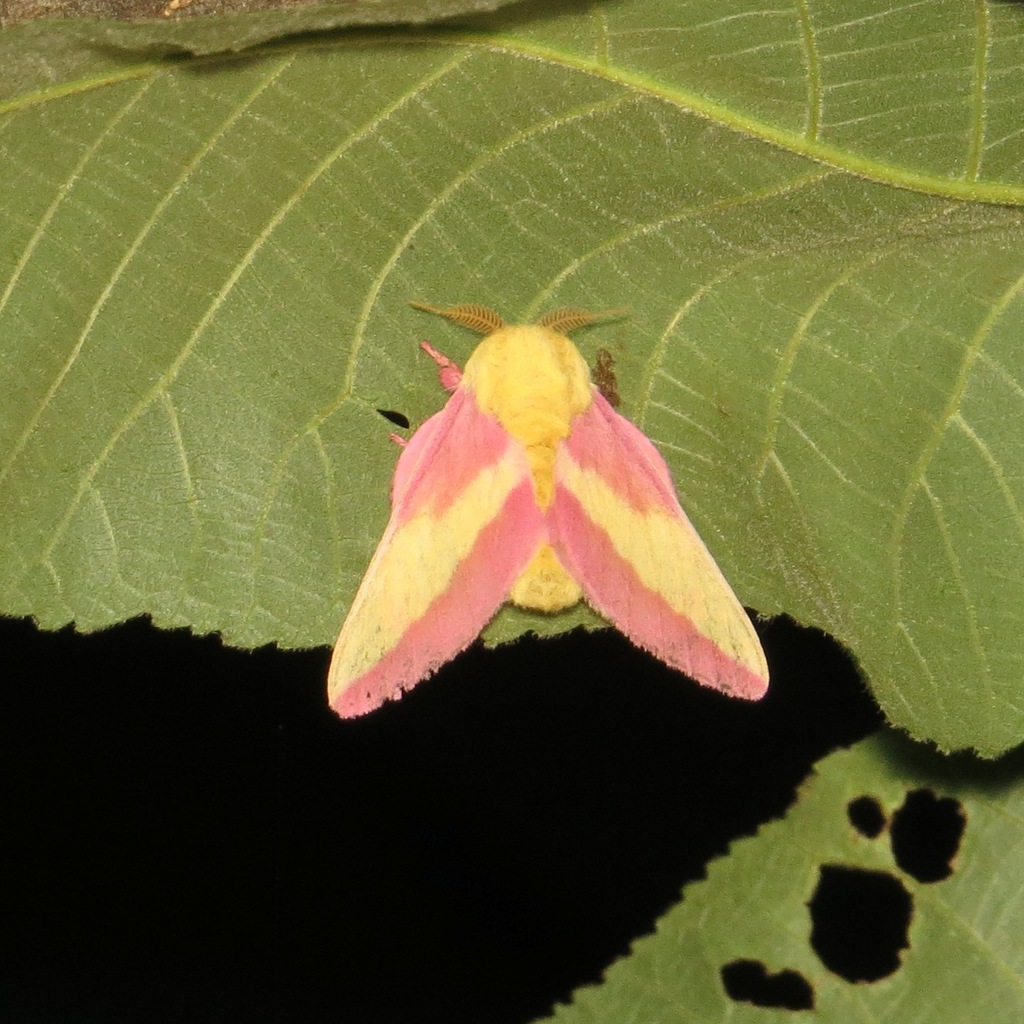
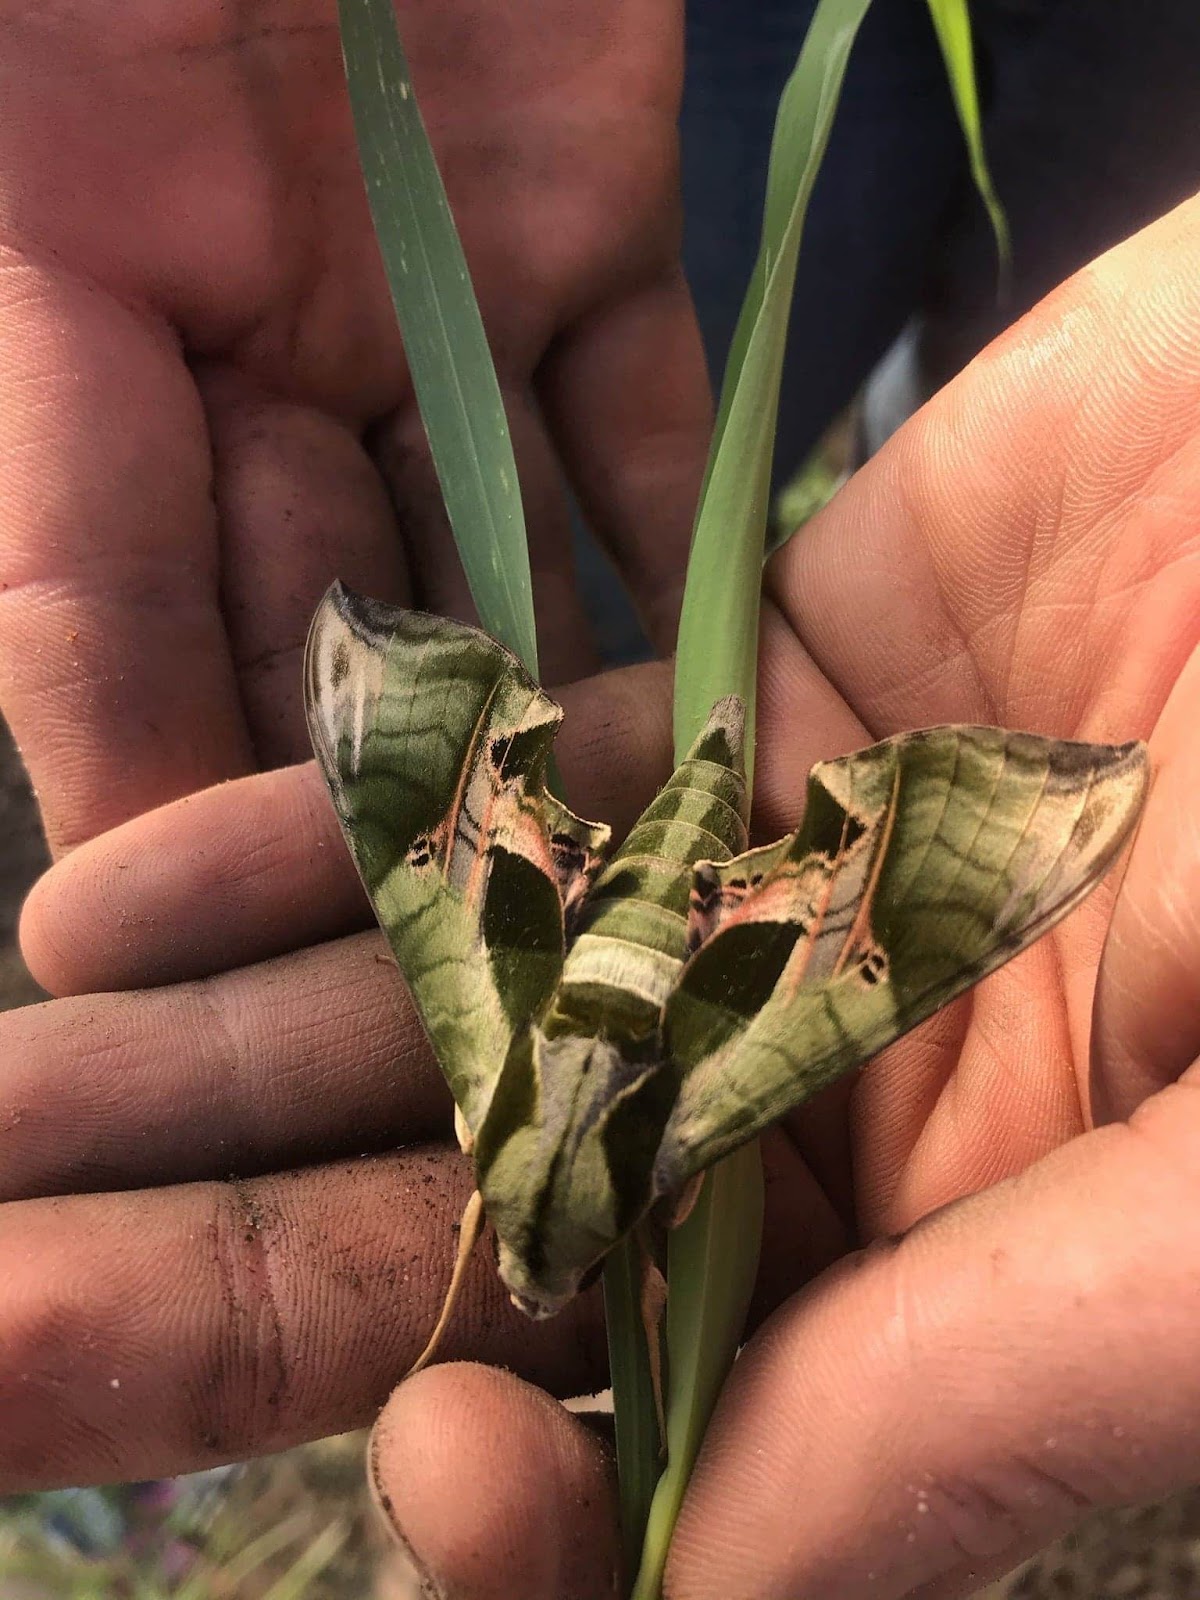
Pandorus Sphinx Moth
Some butterflies and moths have specific host plant. They use only that plant for food or shelter at certain stages of life. Monarch caterpillars are famous for depending on milkweed like this.
The Pandorus Sphinx Moth relies on grape vines and Virginia creeper. You have probably seen Virginia creeper in woods and yards in Ohio:

These vines are a good place to look for sphinx moths!
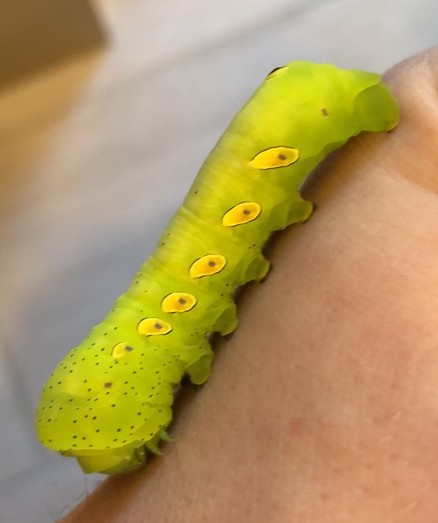
Life Cycle
- An adult Pandorus Sphinx Moth lays green eggs on its host plant.
- The caterpillar emerges from the egg and begins to eat the host plant.
- The caterpillar eats for about 25 days!
- Once the caterpillar has eaten and grown enough, it buries itself underground to become a pupae.
- When metamorphosis is complete, the adult emerges to reproduce. The life cycle begins again.
Pupae – The life stage when the caterpillar is in a cocoon or protective shield, before becoming an adult moth.
Metamorphosis – The transformation from a younger life stage (in the moth’s example
, a caterpillar and pupae) to an adult life stage (a moth).This moth can have up to 3 generations of offspring in a year!
If an egg is laid in fall, the caterpillar will become a pupae and bury underground over winter to survive the colder environment. It will wait to emerge until spring.
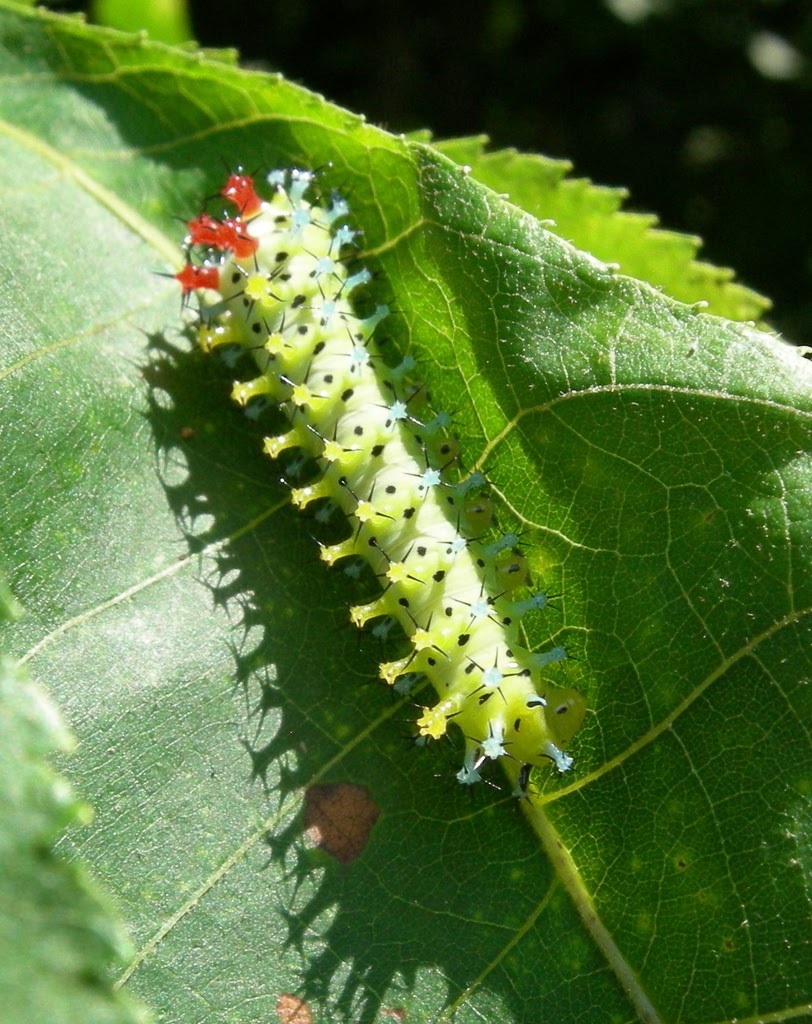
Cecropia Moth
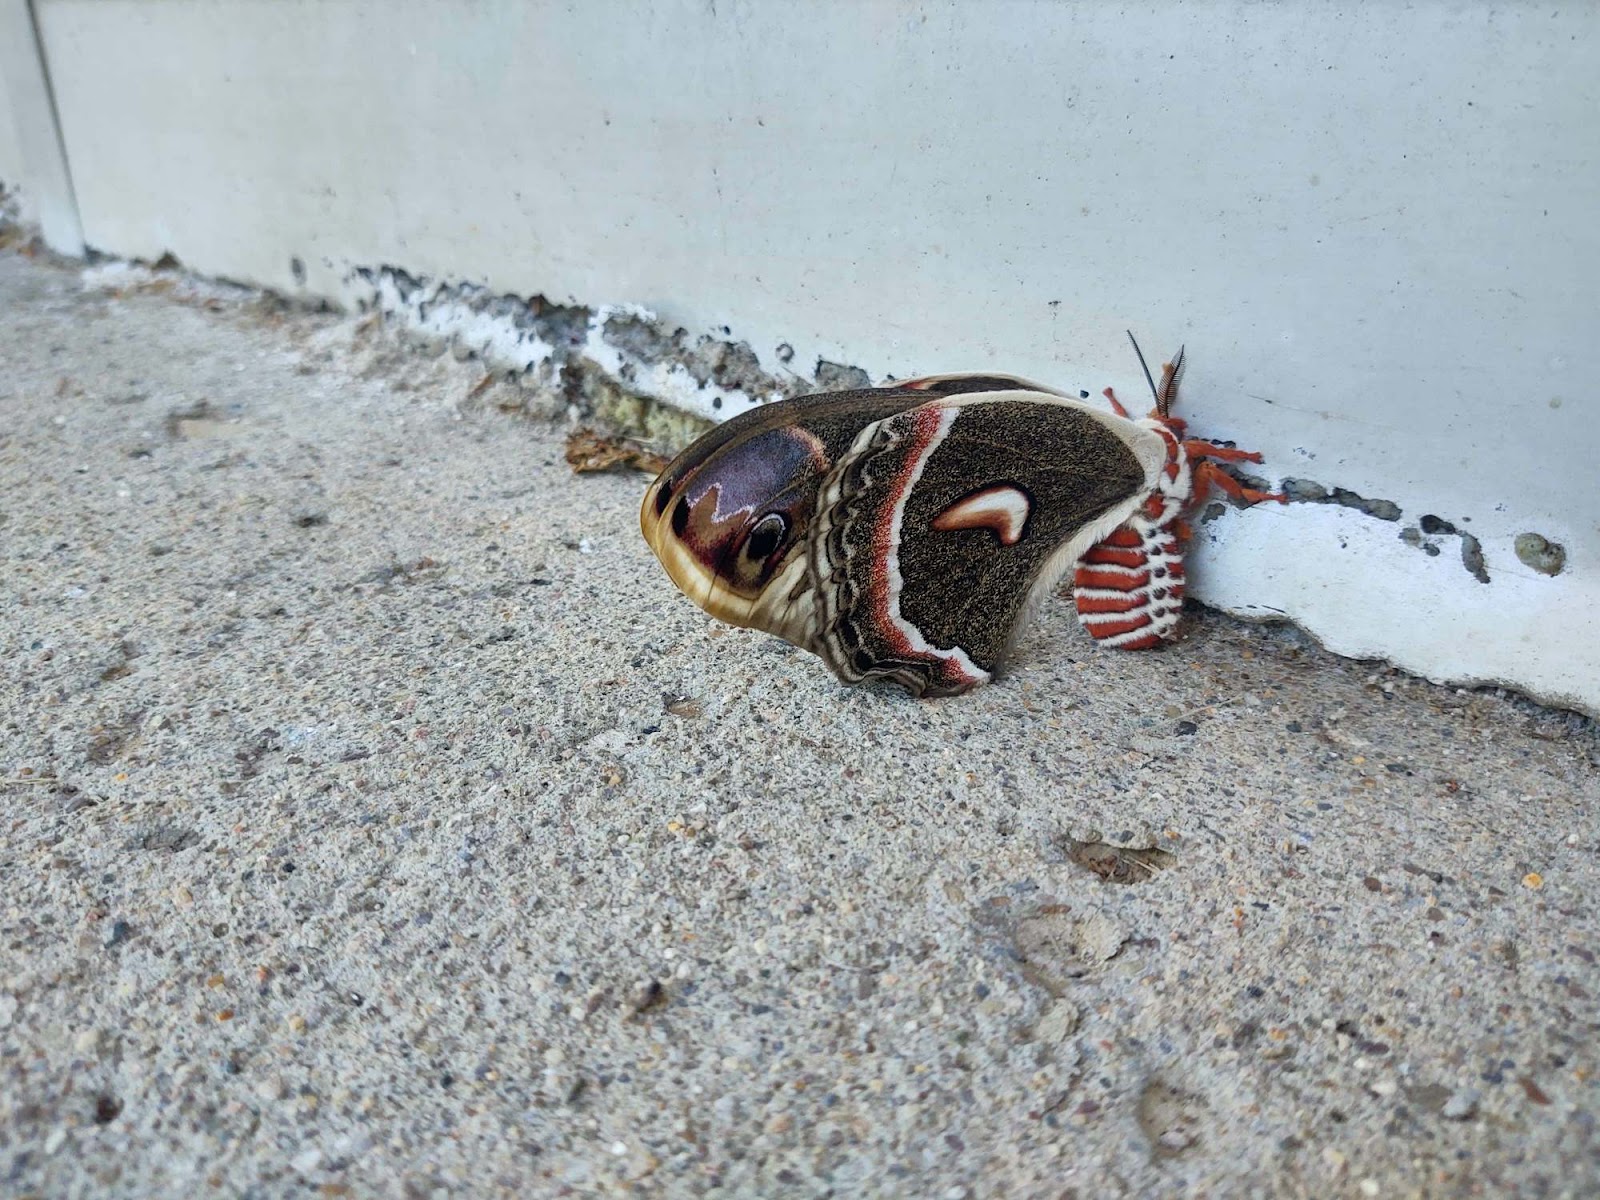
This caterpillar will eat and eat. But when it becomes an adult, it doesn’t eat at all. It doesn’t even have a mouth that works! Its sole goal is to reproduce as quickly as possible and lay eggs.
These moths are extremely attracted to light sources, and you may be able to see them fluttering around street lamps in summer. No one knows for certain why moths are so attracted to light sources, but scientists have one promising theory:
This theory explains that moths use the light from the moon and stars as a way to navigate and orient themselves, and have done so for millions of years. But why exactly would moths be attracted to artificial light?
Watch the video below, provided by National Geographic, to learn more about this theory.
Activity: Moth Observations
Want to discover moths for yourself? Since moths are attracted to light, it is easy to observe them at night using a few tricks!
Materials needed:
- light source (flashlight or porch light)
- light colored sheet (a white one is perfect!)
- camera or paper and colored pencils to record your observations
Step 1.
Set up your white sheet near your outdoor light source. If you are using a porch light, hang the sheet vertically close to the light. This will let the moths have a place to rest as they are mesmerized.
If you are using a flashlight, you can hang your sheet anywhere outside.
Step 2.
When it gets dark, turn on your light source. Now wait for the moths to come closer! You might see them fluttering around the light, or even landing on your sheet.
Step 3.
Record the moths you observe by using a camera or by drawing what you see. Hopefully you get a wide variety of moths to look at!
Step 4.
Find any moths that really interest you? Check out this field guide from the Ohio Division of Natural Resources to identify the moths and discover more about them.
Another great resource for insect identification is here.
Want to celebrate National Moth Week even more?
Join the Mothing Ohio Facebook group!
You can also check out our Bioblitz project of insect observations on iNaturalist.
As always
, happy exploring!