Tool making is something humans have been practicing for over two million years! Tools have not only helped to make our lives easier, but have also helped to create culture. Learning how to make primitive tools can be a fun and useful outdoor skill, like the compass Brock showed us how to make on Wednesday.
Making tools for yourself wouldn’t be a top priority in a survival emergency. But if you had to live in the wild for a longer period of time, or just want to meet more of your needs with your own hands, it’s useful!
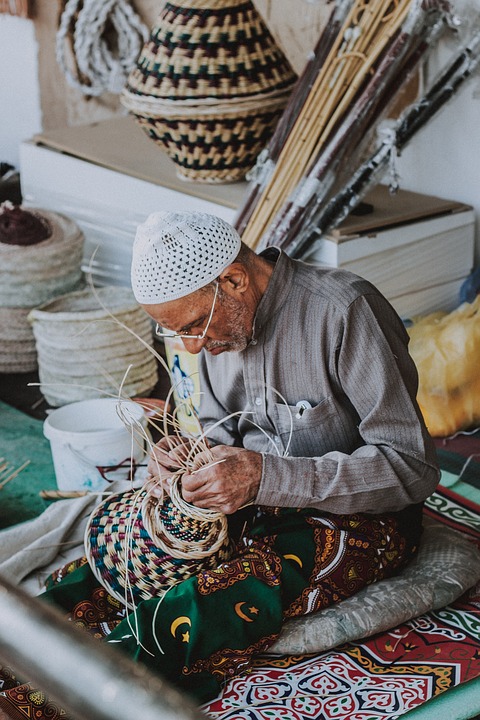
Basket weaving is found in most cultures around the world. Baskets are essential! You can use them for gathering food, as backpacks, as baby carriers, as cupboards, as plates and cups, as cradles, as birdcages, as measuring cups, and to catch fish (just to name a few!). Some baskets can even hold water!
Think about the things in your house. If you couldn’t buy anything at the store, how many of them could be replaced with a basket?
Today we will learn how to weave baskets out of Japanese honeysuckle vine. One reason we chose Japanese honeysuckle is that it’s an invasive plant (remember what an invasive is?). Just like garlic mustard, using this invasive plant is one way to get rid of it! It’s also easy to find, anywhere you live.
Honeysuckle was first brought to the US from Japan in 1806, because people liked how it looked in the garden. Since then it has spread from people’s yards into the forest. It has spread because birds eat the seeds and then poop them out in a new location. Honeysuckle can outcompete native plants. It grows leaves earlier in the spring, making it too shady for native plants to grow. It can take up so much space that there is no room for other plants.
Honeysuckle grows lots of berries, which birds eat. But the berries don’t have as much fat and nutrients as other plants, and migrating birds need that. Think if you were in the produce section of the grocery store, and all the fruits and veggies were replaced with donuts! Whenever honeysuckle replaces a native plant, it takes away a healthy option for birds and other wildlife.
Identifying Honeysuckle
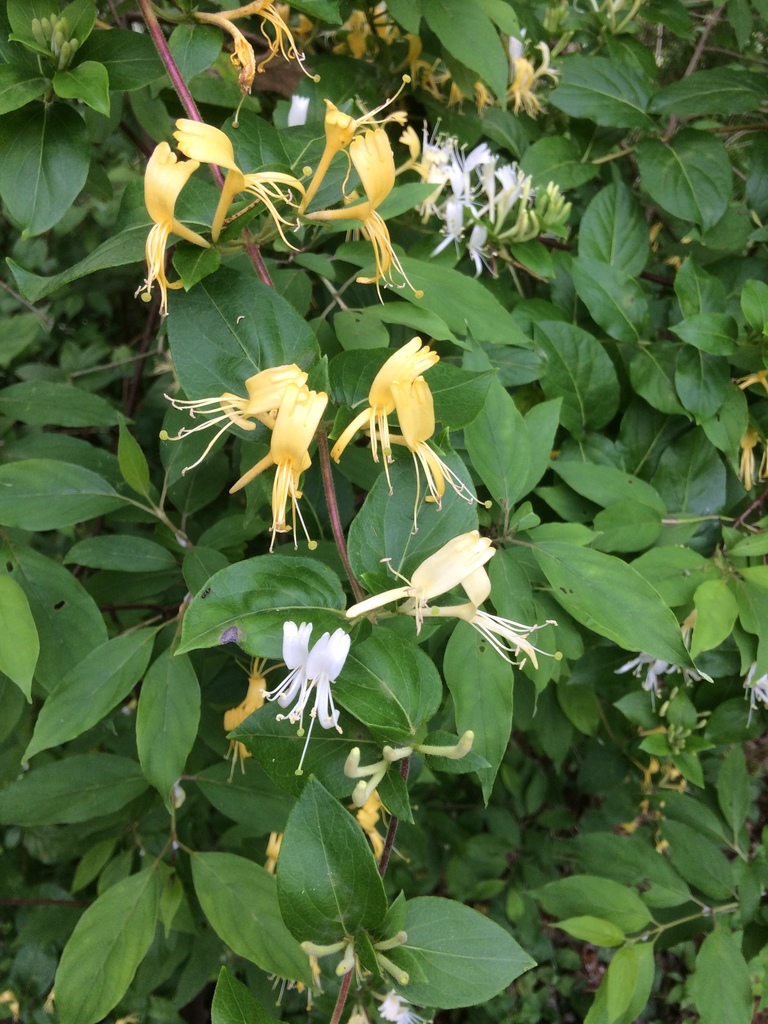
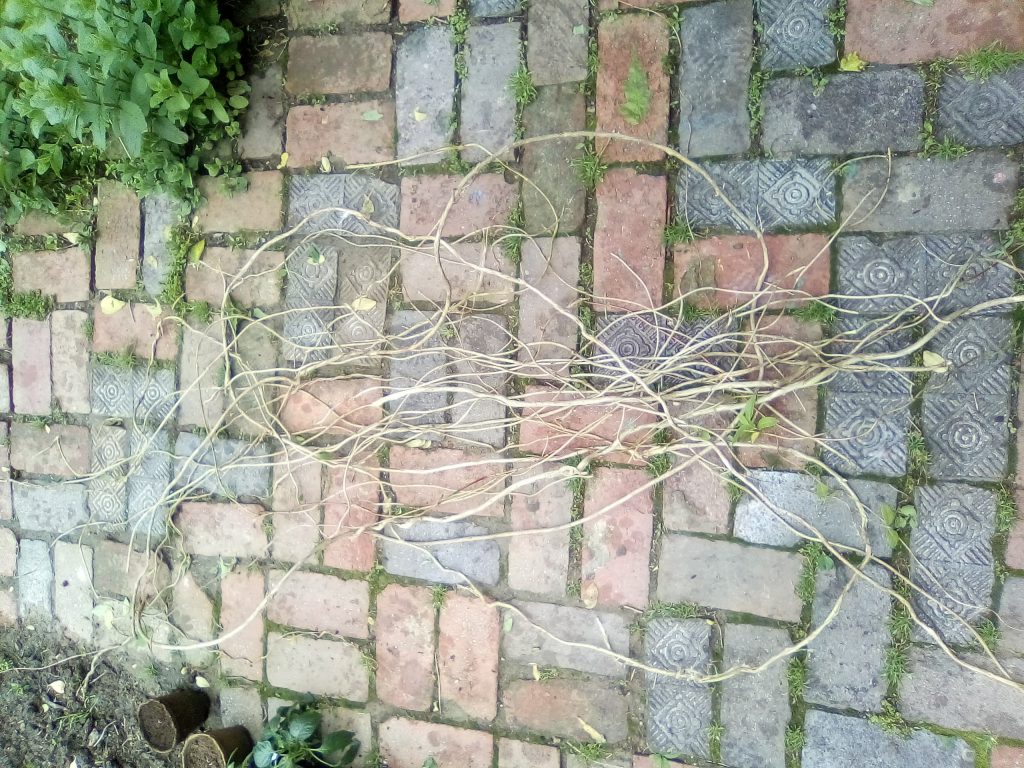
Before we can start weaving our baskets, we have to learn how to identify the material we’re going to use. Look at the photos in this post. What do you see that looks different from other plants?
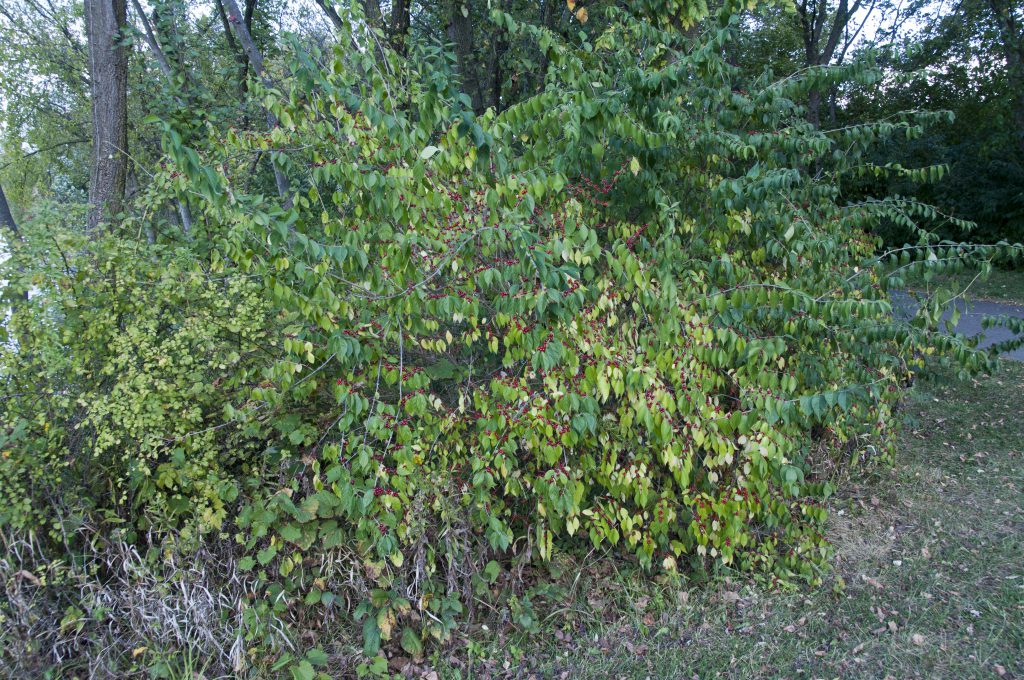
Look for a skinny twining, woody vine climbing up other plants or fences. (But DON’T touch any very hairy vines–those could be poison ivy).
Young stems are green and covered with light, fuzzy hairs. Older stems are woody , hollow, and have brown bark that may peel off in shreds.
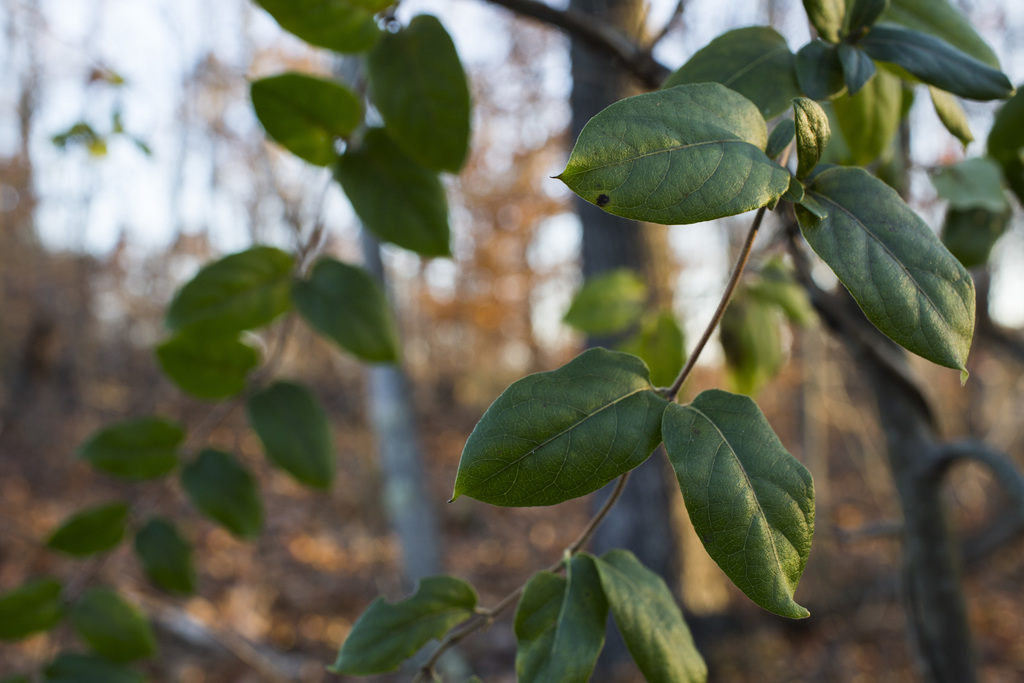
Leaves are opposite (2 leaves attached right across from each other), 3 inches long, egg-shaped, hairy, and smooth-edged.
The flowers have 5 petals that make a 1- to 2-inch-long tube. Young flowers are white with purple or pink and they become yellowish with age.
Step by step: how to make a Honeysuckle Basket
Step 1.
Collect your vines! Use shears or gardening scissors to cut the vines at the base.
Experiment to see which vines bend best. If you try to use the vines when they are too green, they may snap due to the pressure of internal fluids. You can use green vines; you just have to be extra careful.
Step 2.
Once you have gathered your raw material, you will need to clean it. Run your hands down the vines to strip off the leaves and flowers. If the vines fork or have side shoots, you can cut these off and save them to use.
Step 3.
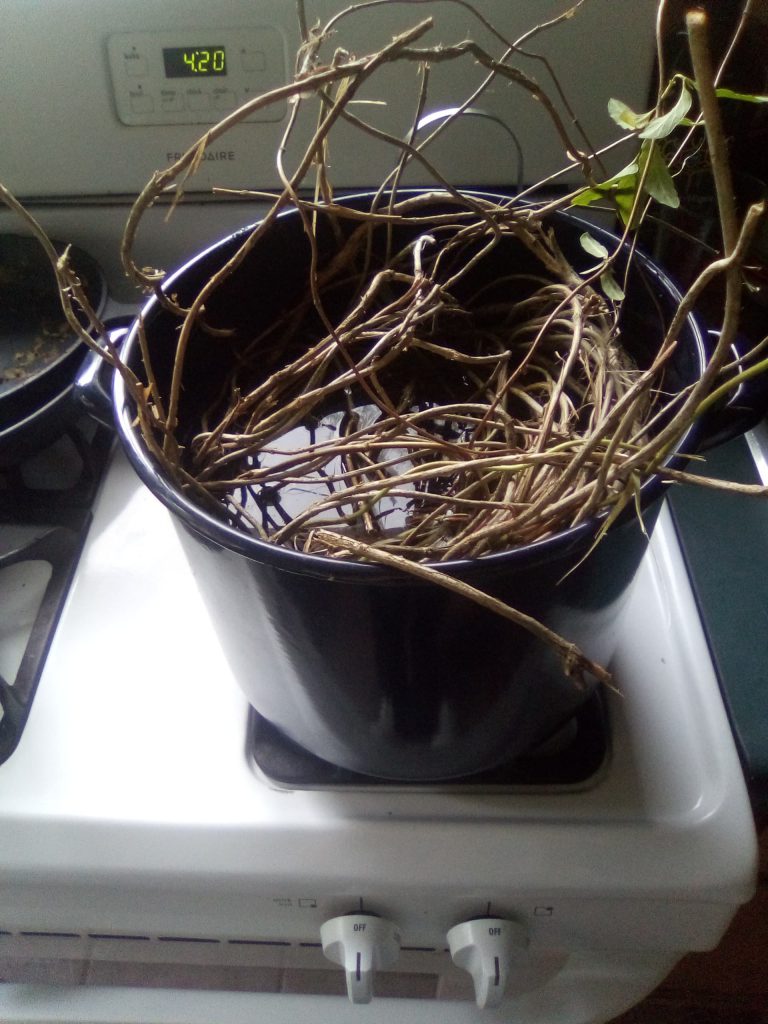
Carefully coil up the vines and stuff them into a big pot. Try not to snap the vines as you stuff them into the pot (some may break , that’s OK!) Add water and boil the vines for about 10 minutes. Once boiled, let sit until cool enough to touch.
Step 4.
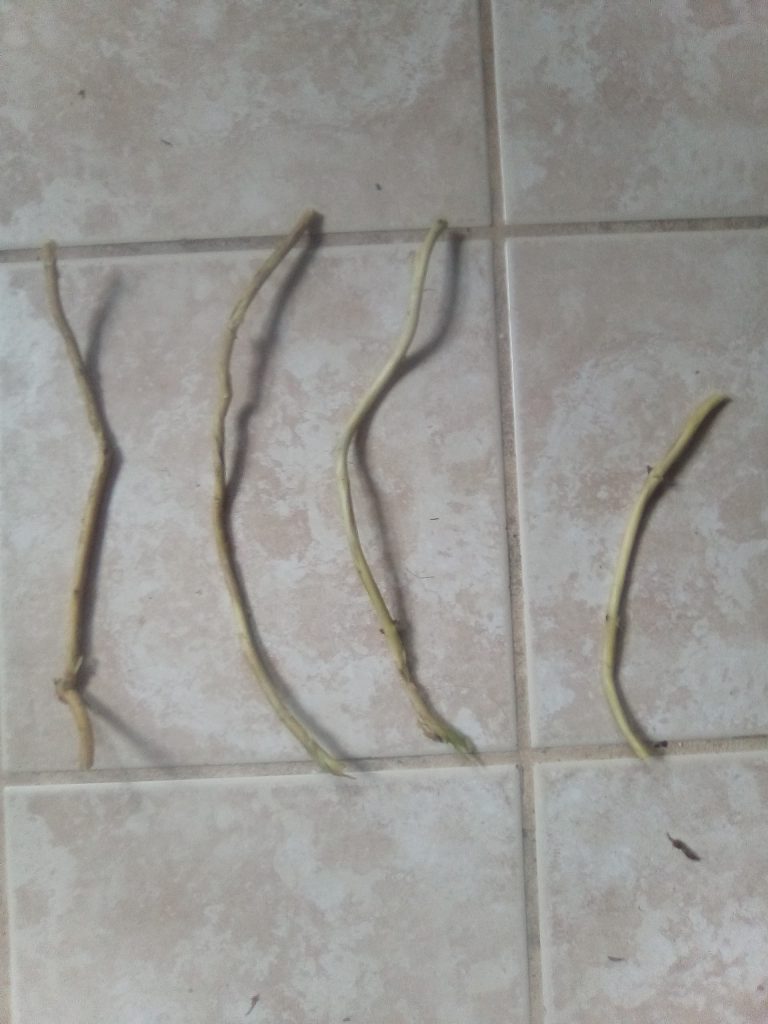
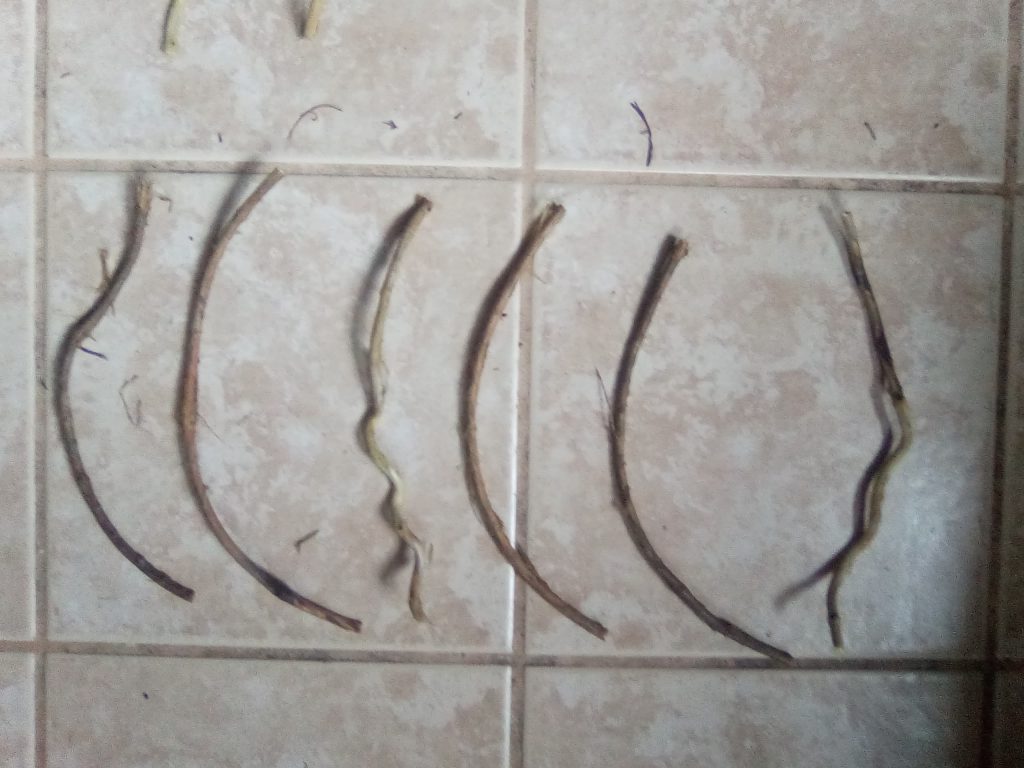
Now its time to select the ribs of your basket. In basket weaving, these are called “warps”. You will need 4 warps to start. Pick 3 of the thicker pieces of honeysuckle that are about 2 feet long, and another piece the same thickness and a little longer than a foot.
Step 5.
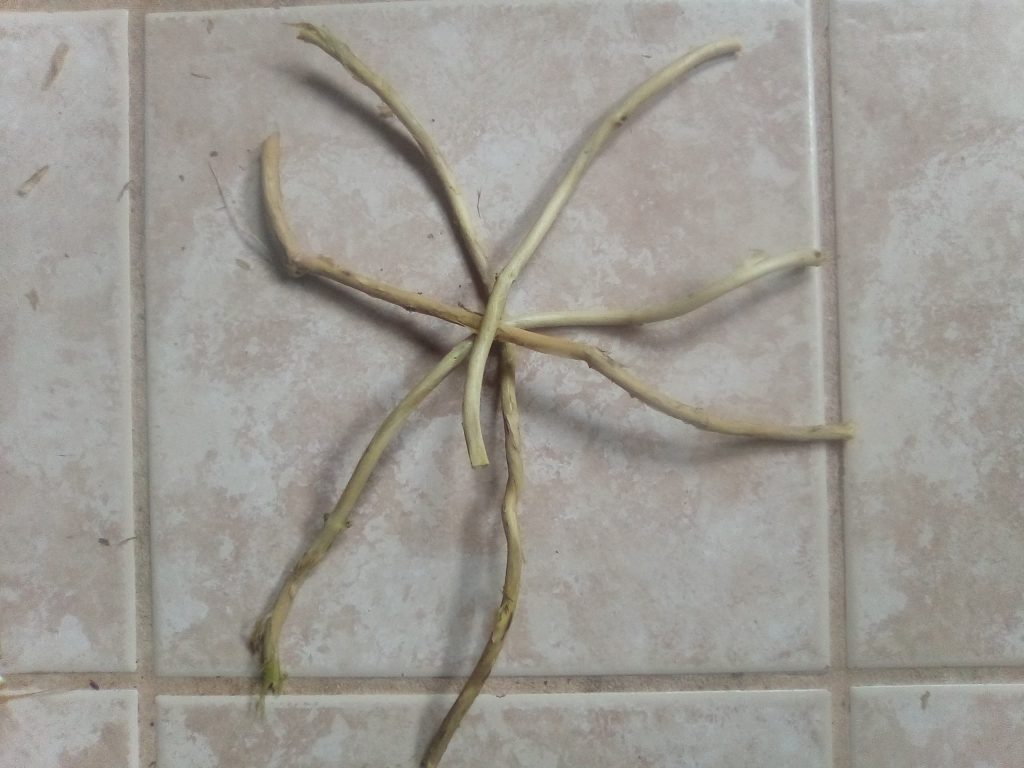
Take the 3 longest warps and lay them on top of each other, crossing in the center. Take the shortest warp and lay it so about 3 inches is on one side, 15 inches on the other.
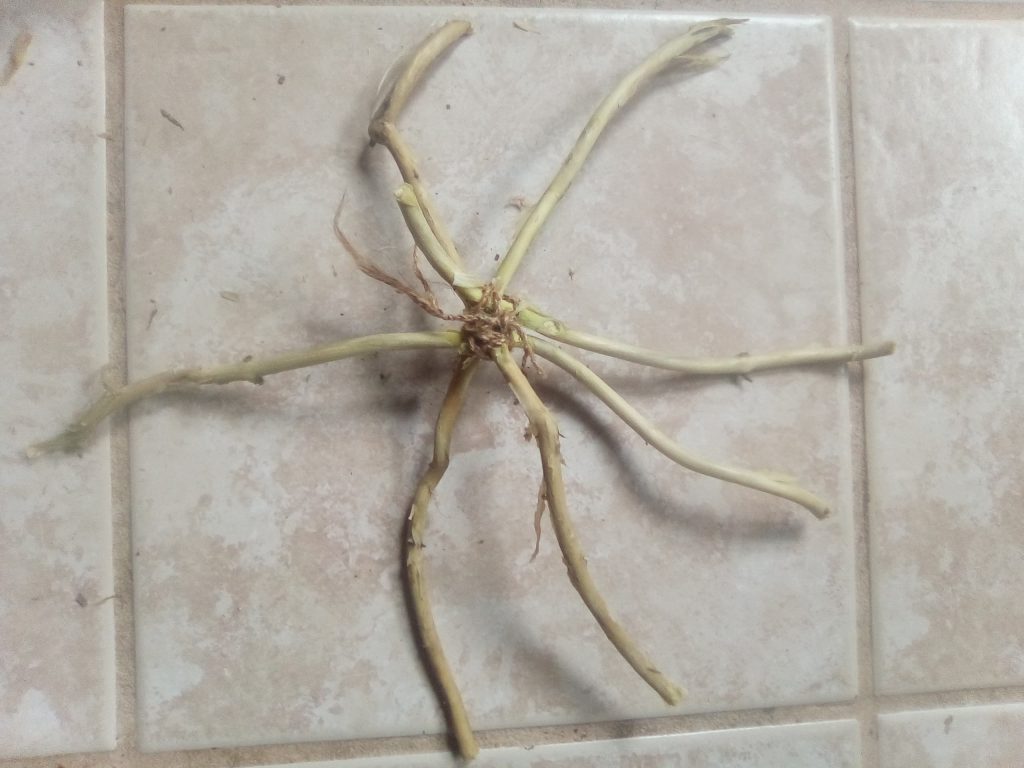
Step 6.
Tie the warps together with string (or Dogbane cordage) so all warps are evenly spaced. This maybe trickier then you think… be patient.
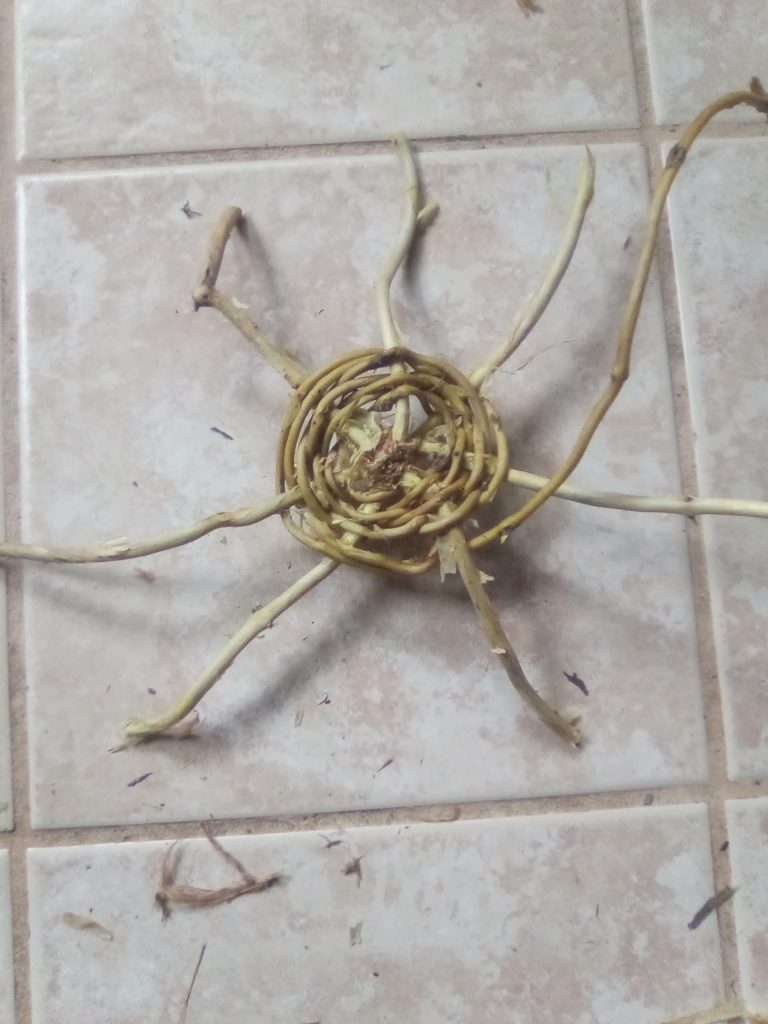
Step 7.
Now it’s time to start weaving. Chose the longest piece of Honeysuckle you have for weaving between the warps. This piece called a “weft”. Push the weft down under one warp, and then take it over the next warp. Go under then over, under then over, all around the basket.
Because of the odd number of warps, you will go under a warp the first time around, then over the same warp the next time around. Keep pushing the weft in tight as you weave to the layer below it, so that you don’t have gaps in the wall of the basket.
Step 8.
Once you have woven out about 2 inches, it’s time to add 6 more warps. These warps will help to start making the walls of the basket. Chose 6 warps all the same size, and shove them in between each existing warp. There will be one space left without any warp in it. Remember, you need an odd number!
The new warps will be hard to keep in place at first. After a few rounds of weaving, it is easier.

Step 9.
Since we are making a bowl shaped basket , gently bend up the warps gradually as you work. The weft will hold them in place. When your weft runs out, just let it end so that it is in behind a warp (inside the basket). Then start with a new piece of vine as your weft.
Continue weaving until the basket is as tall as you want it.
Step 10.
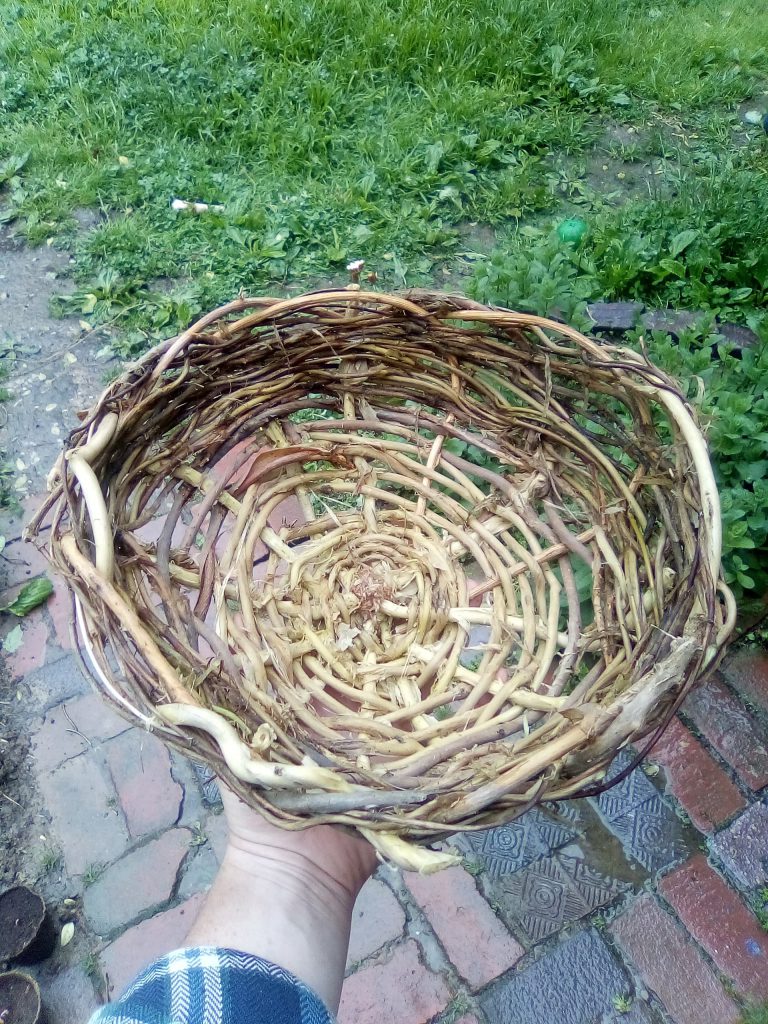
When you have the basket completed to the height that you want, it is time to finish the top. Bend each warp to the right, and insert them into the holes next to other warps. If the warps are starting to feel dry, re-soak the basket so they don’t snap off.
For more honeysuckle basket techniques check out SensibleSurvival.org
It took me a few tries to get this basket, so keep trying!
2 replies on “Honeysuckle Baskets”
THIS IS AMAZING! What a great gift basket or harvest basket. I am interested in making a laundry basket. Do you know how many feet of honeysuckle I may need to harvest?
Hi Sarah, I’m glad you enjoyed this activity! A laundry basket sound like a fun project. I’m not sure how much honeysuckle you would need for a basket that size? For the basket that I made, I stuffed as much Honeysuckle as I could in a 4 gallon pot to boil and the result was a a basket that is 4 inches tall and 10 inches wide.
A tip that might be helpful when making a large basket or a few smaller baskets is to harvest and boil as much Honeysuckle as you can. Once it’s boiled you can save it for a long time. When you are ready to use your “stock pile” of Honeysuckle re-soak it so it’s able to bend without breaking again. You won’t have to boil the second time, just let it soak in a bucket or a bathtub.